The Smart Telescope Revolution
April 2024 :
The world of astronomy observing and imaging has been changing at an ever increasing pace. Image stabilized binoculars, hydrogen alpha solar scopes that only a few years ago were the purview of large observatories with lots of money, and smart telescopes. The smart telescopes started out by your being able to put an object number or name into the mount and it would slew to it. You still had to have the mount/scope properly aligned for it to find the object. The next level to come out was add-ons that would image the sky and align the mount for you. You still needed a mount and scope and the entire setup could be very expensive. You could do visual observing with this, and with adding a camera, imaging.
Now, just recently, the smart telescope revolution has started. This new generation of smart telescopes run the gamut from $500 to $4,000. The $4,000 scope is the new soon to be release Celestron, then there is a scope at $1,500. Today I am going to talk about the scope I decided on, the Seestar S50 by ZWO. So far I think it is the best smart scope, is only $500, and weighs about 4 pounds. It comes with a table top tripod that holds it quite well, but it can be used on any regular tripod. It is alt-az although some people are using it on a wedge as an EQ scope, but I am not sure what that might do to the gears in the scope over time, ZWO doesn’t recommend it. The S50 not only does night time deep space objects but will find and image both the Moon and the Sun. Note however that it is not very good on the planets, they are too small for its short focal length (250mm)
The Seestar S50 doesn’t have an eyepiece it is imaging only. It has a built in 64 gigabyte SD card, and you run it via a smart phone or tablet. You can have two devices connected to it at the same time. I got it for outreach as instead of a Jeep full of gear I can just grab the provided case, about the size of a thick briefcase and bring it where ever I want to go. One thing that is nice about this is that kids and older people are used to looking at things on cell phones and tablets rather than an eyepiece. You first download the Seestar app to control the scope and imaging. Setting up and using the S50 couldn’t be easier, you put it on the tripod, I use the level built into the tripod to get it as level as possible, then attach the S50. Next step is to align the compass, that is accomplished by lifting and rotating the scope and tripod while in the compass part of the app. To make it even easier, I picked up a camera panoramic rotator and I leave the tripod in place and rotate the scope. Once it is aligned to the compass you then level the scope itself. Part of the app is a level with two “balls” you bring together as you adjust the tripod legs for level. Again, to make it easier I got a special leveler with three knobs on Amazon. Once the scope is level enough, the balls turn green you are ready to go, you can get as precise as you want trying to get it perfectly level at 0.0 degrees, but really anything under 2.0 degrees when the balls turn green is good enough.
The next recommended step is horizontal alignment. It is not totally needed but recommended as it makes going to objects more accurate. You point the scope at an open area of the sky, from my home I have lots of trees but have a few breaks in them and a big one to the northwest so I will point the scope there and then say align and it does 3 different plate solving images and determines where it is.
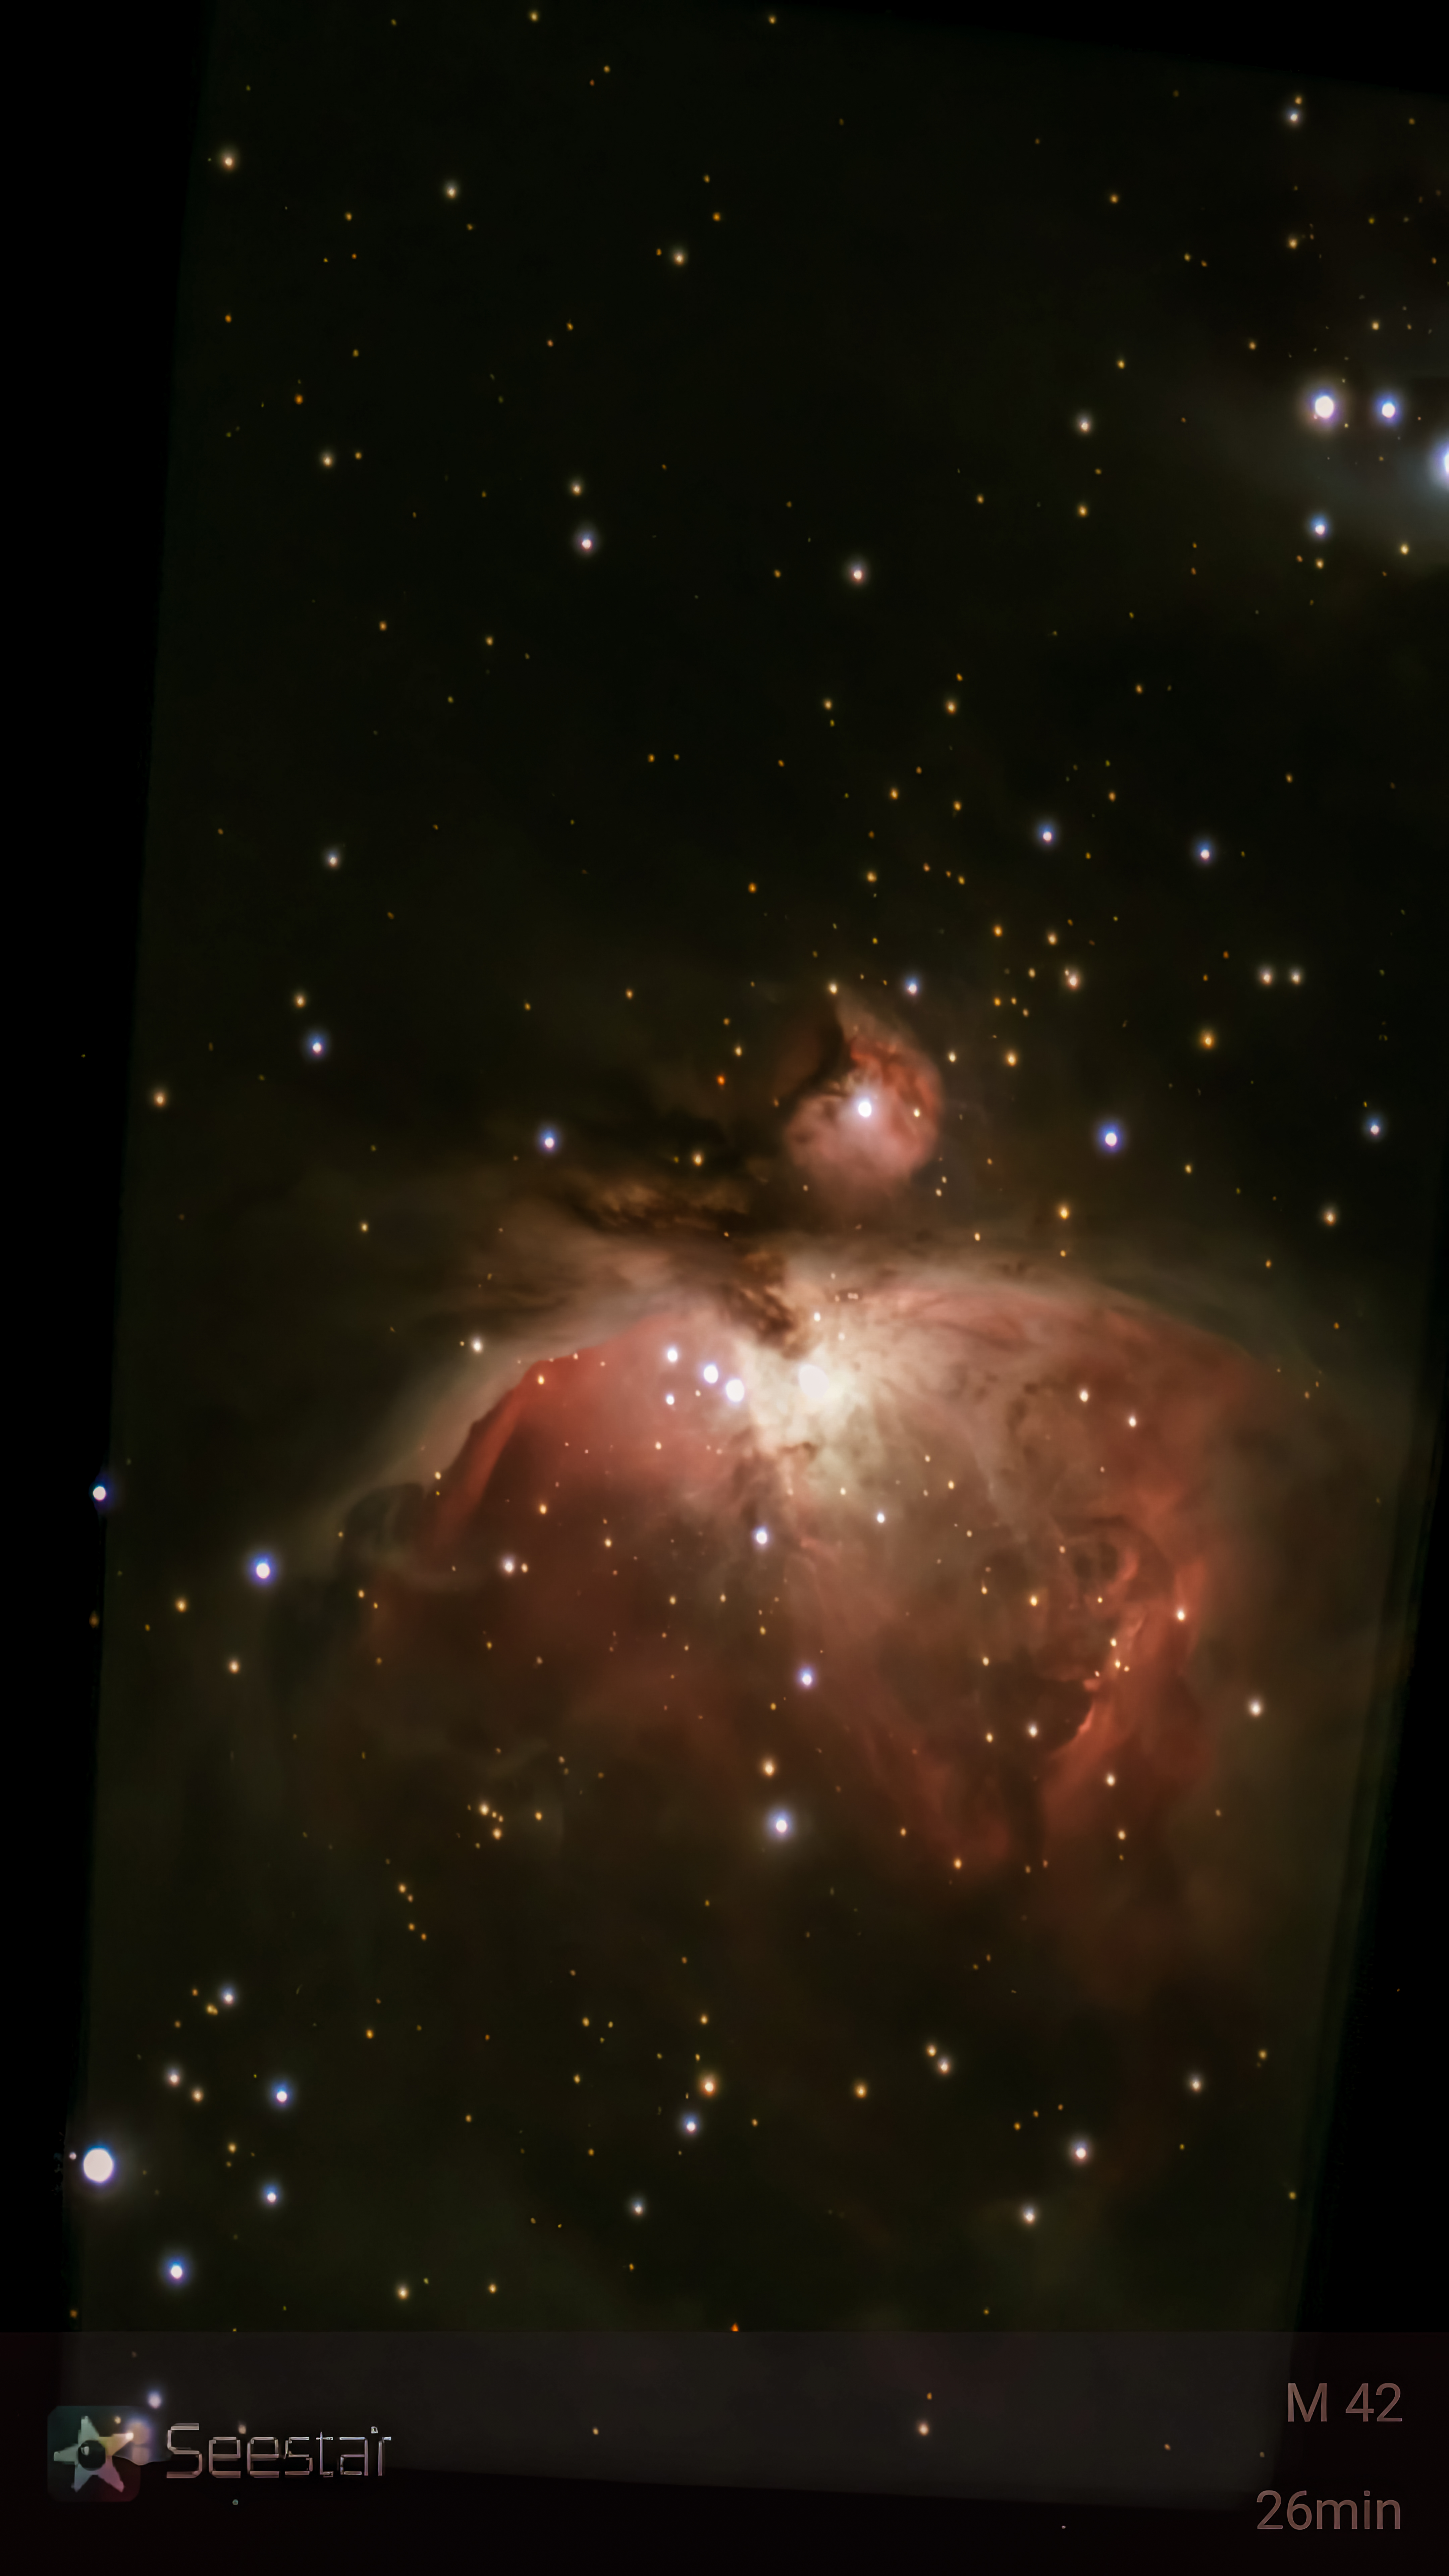
Now the fun part: you tell it to go to an object! You can type in a Messier or Caldwell or NGC or a star, or use one of the recommended “what’s up in the sky tonight” or use the built in sky chart to find an object. The S50 does 10, 20 and 30 second exposures, although I recommend 10 second exposures. The S50 will automatically stack them in a live stack and show it as it gathers the data on your device. Since it is alt-az it is susceptible to field rotation, so with any object if imaged long enough will show dark edges on the image. Less than 30 minutes it really isn’t an issue. You can download just the live image or you can save the individual files and stack them yourself on the S50, or download them to your PC and used Siril or Pixinsight to stack and process them. Depending on the brightness of the object will determine on how long you must image. For example after even 10 second you will be able to see M42!
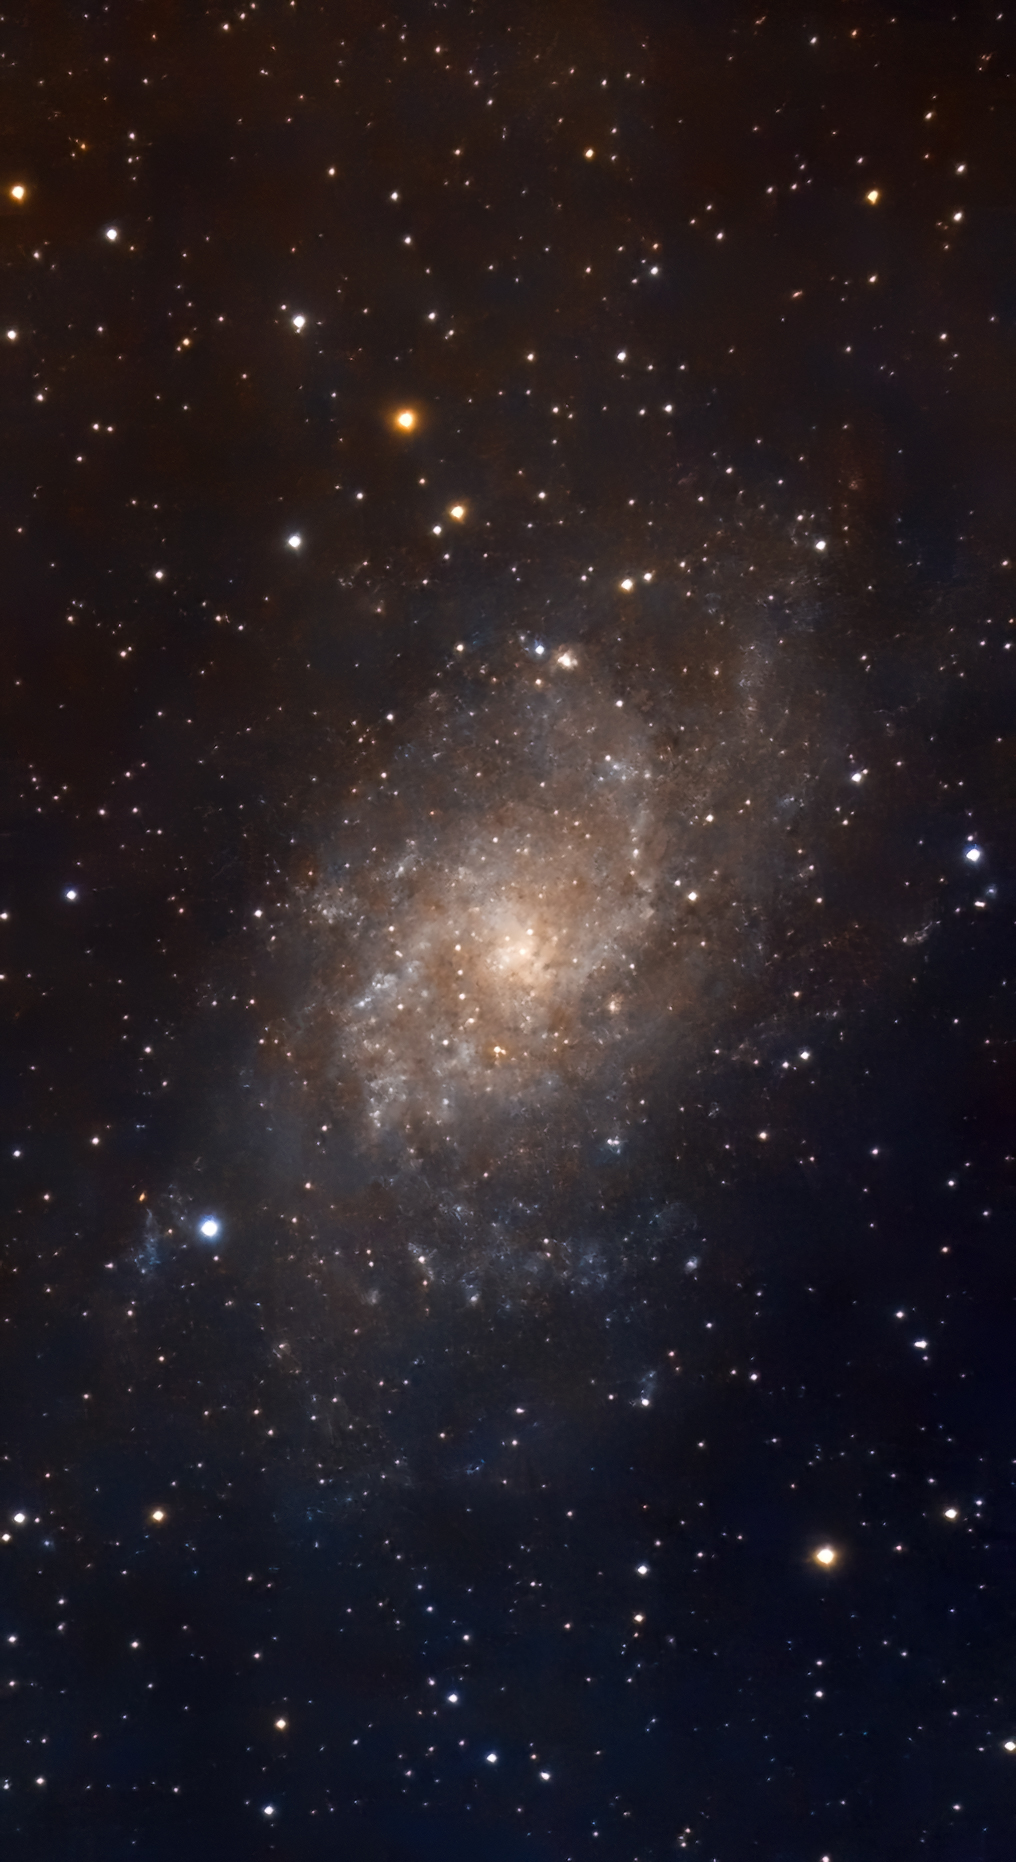
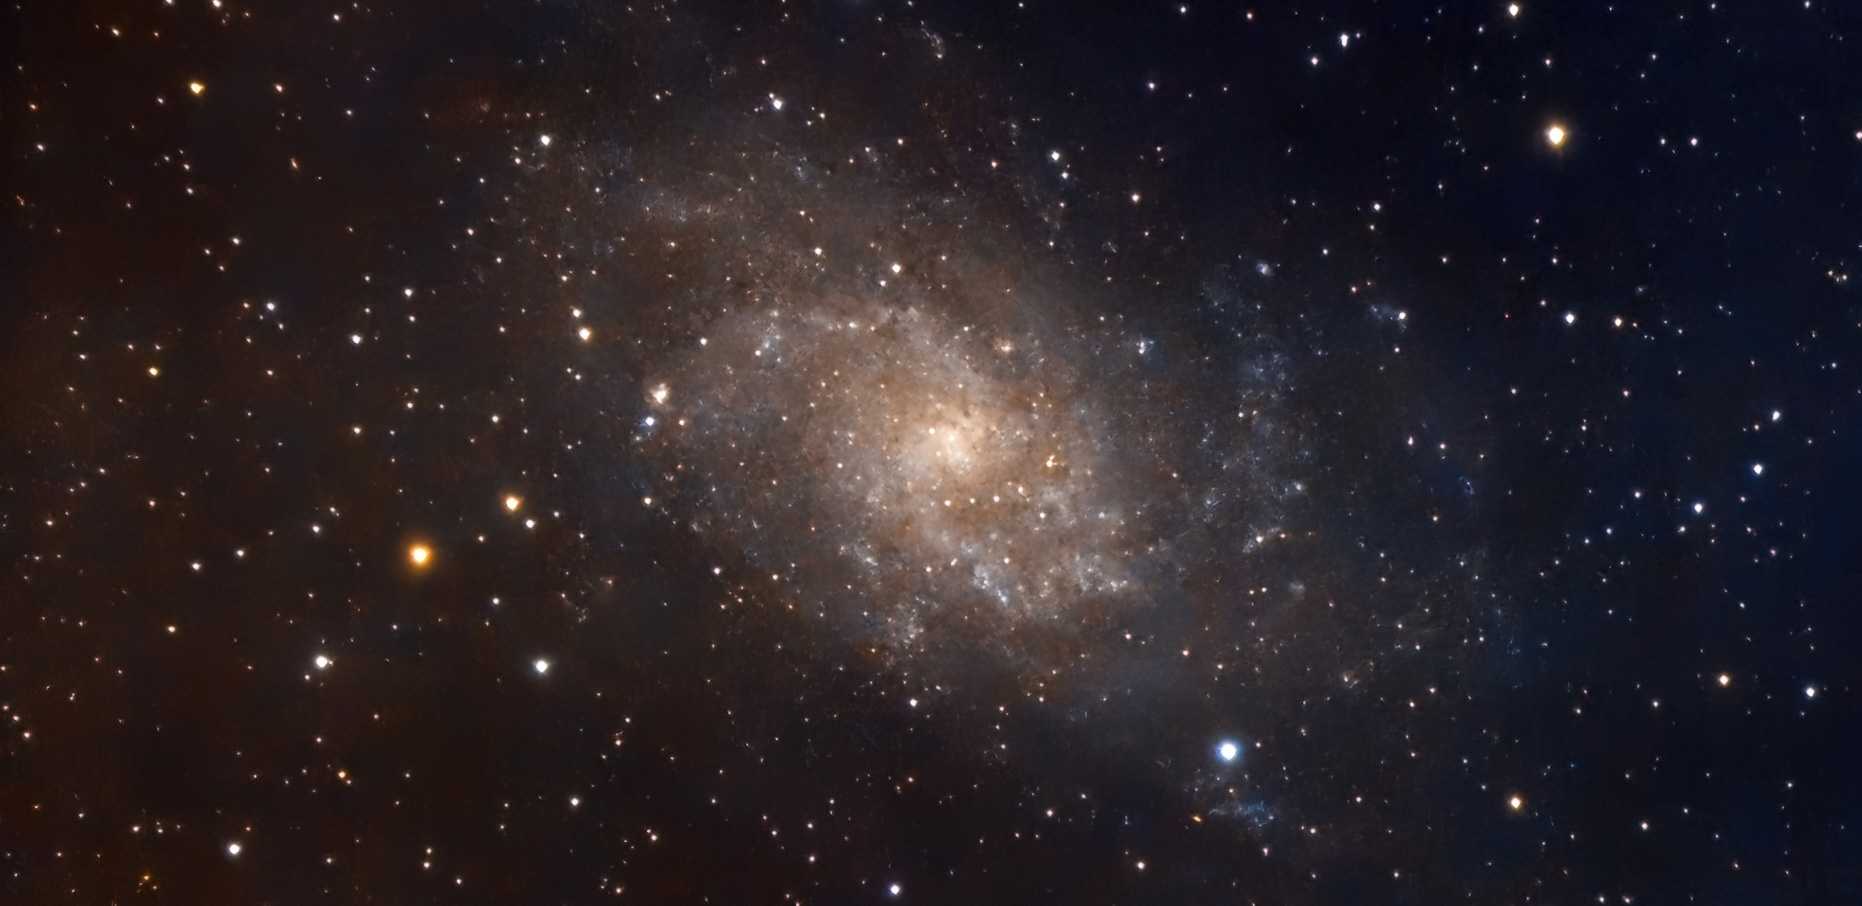
I am posting images I have taken with the S50 on Flickr https://www.flickr.com/photos/jmpadell/albums/72177720314620443
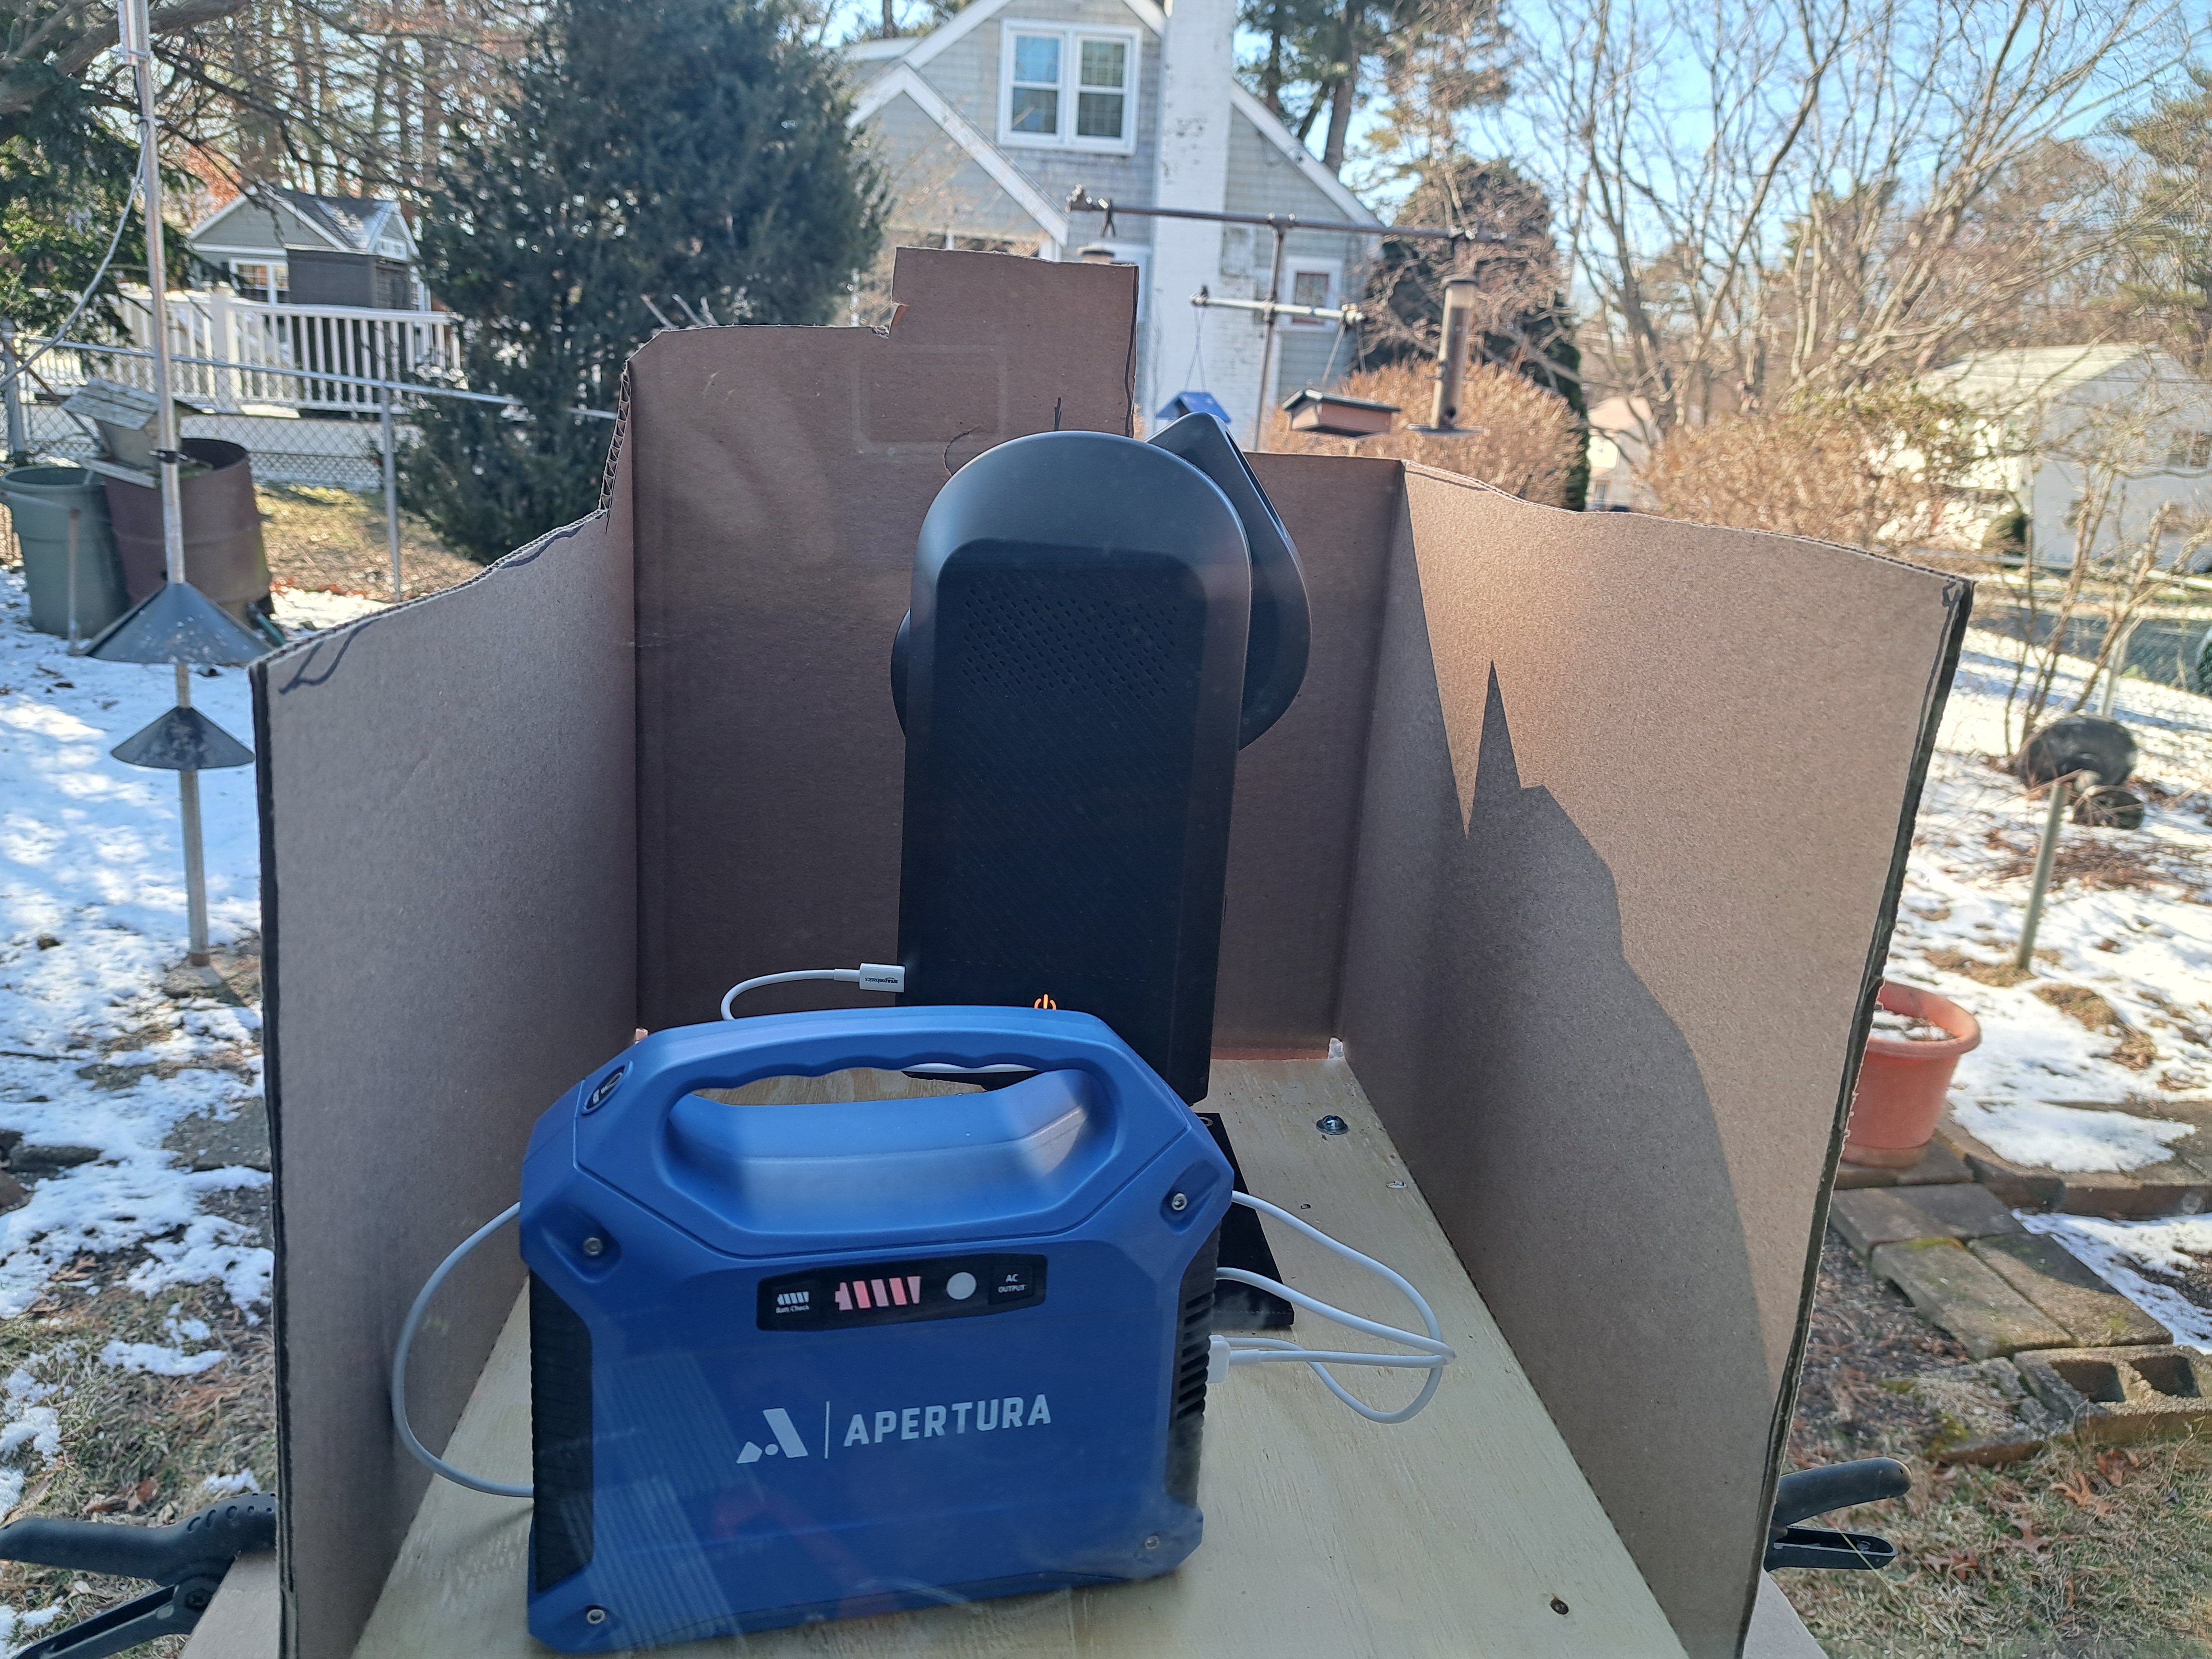
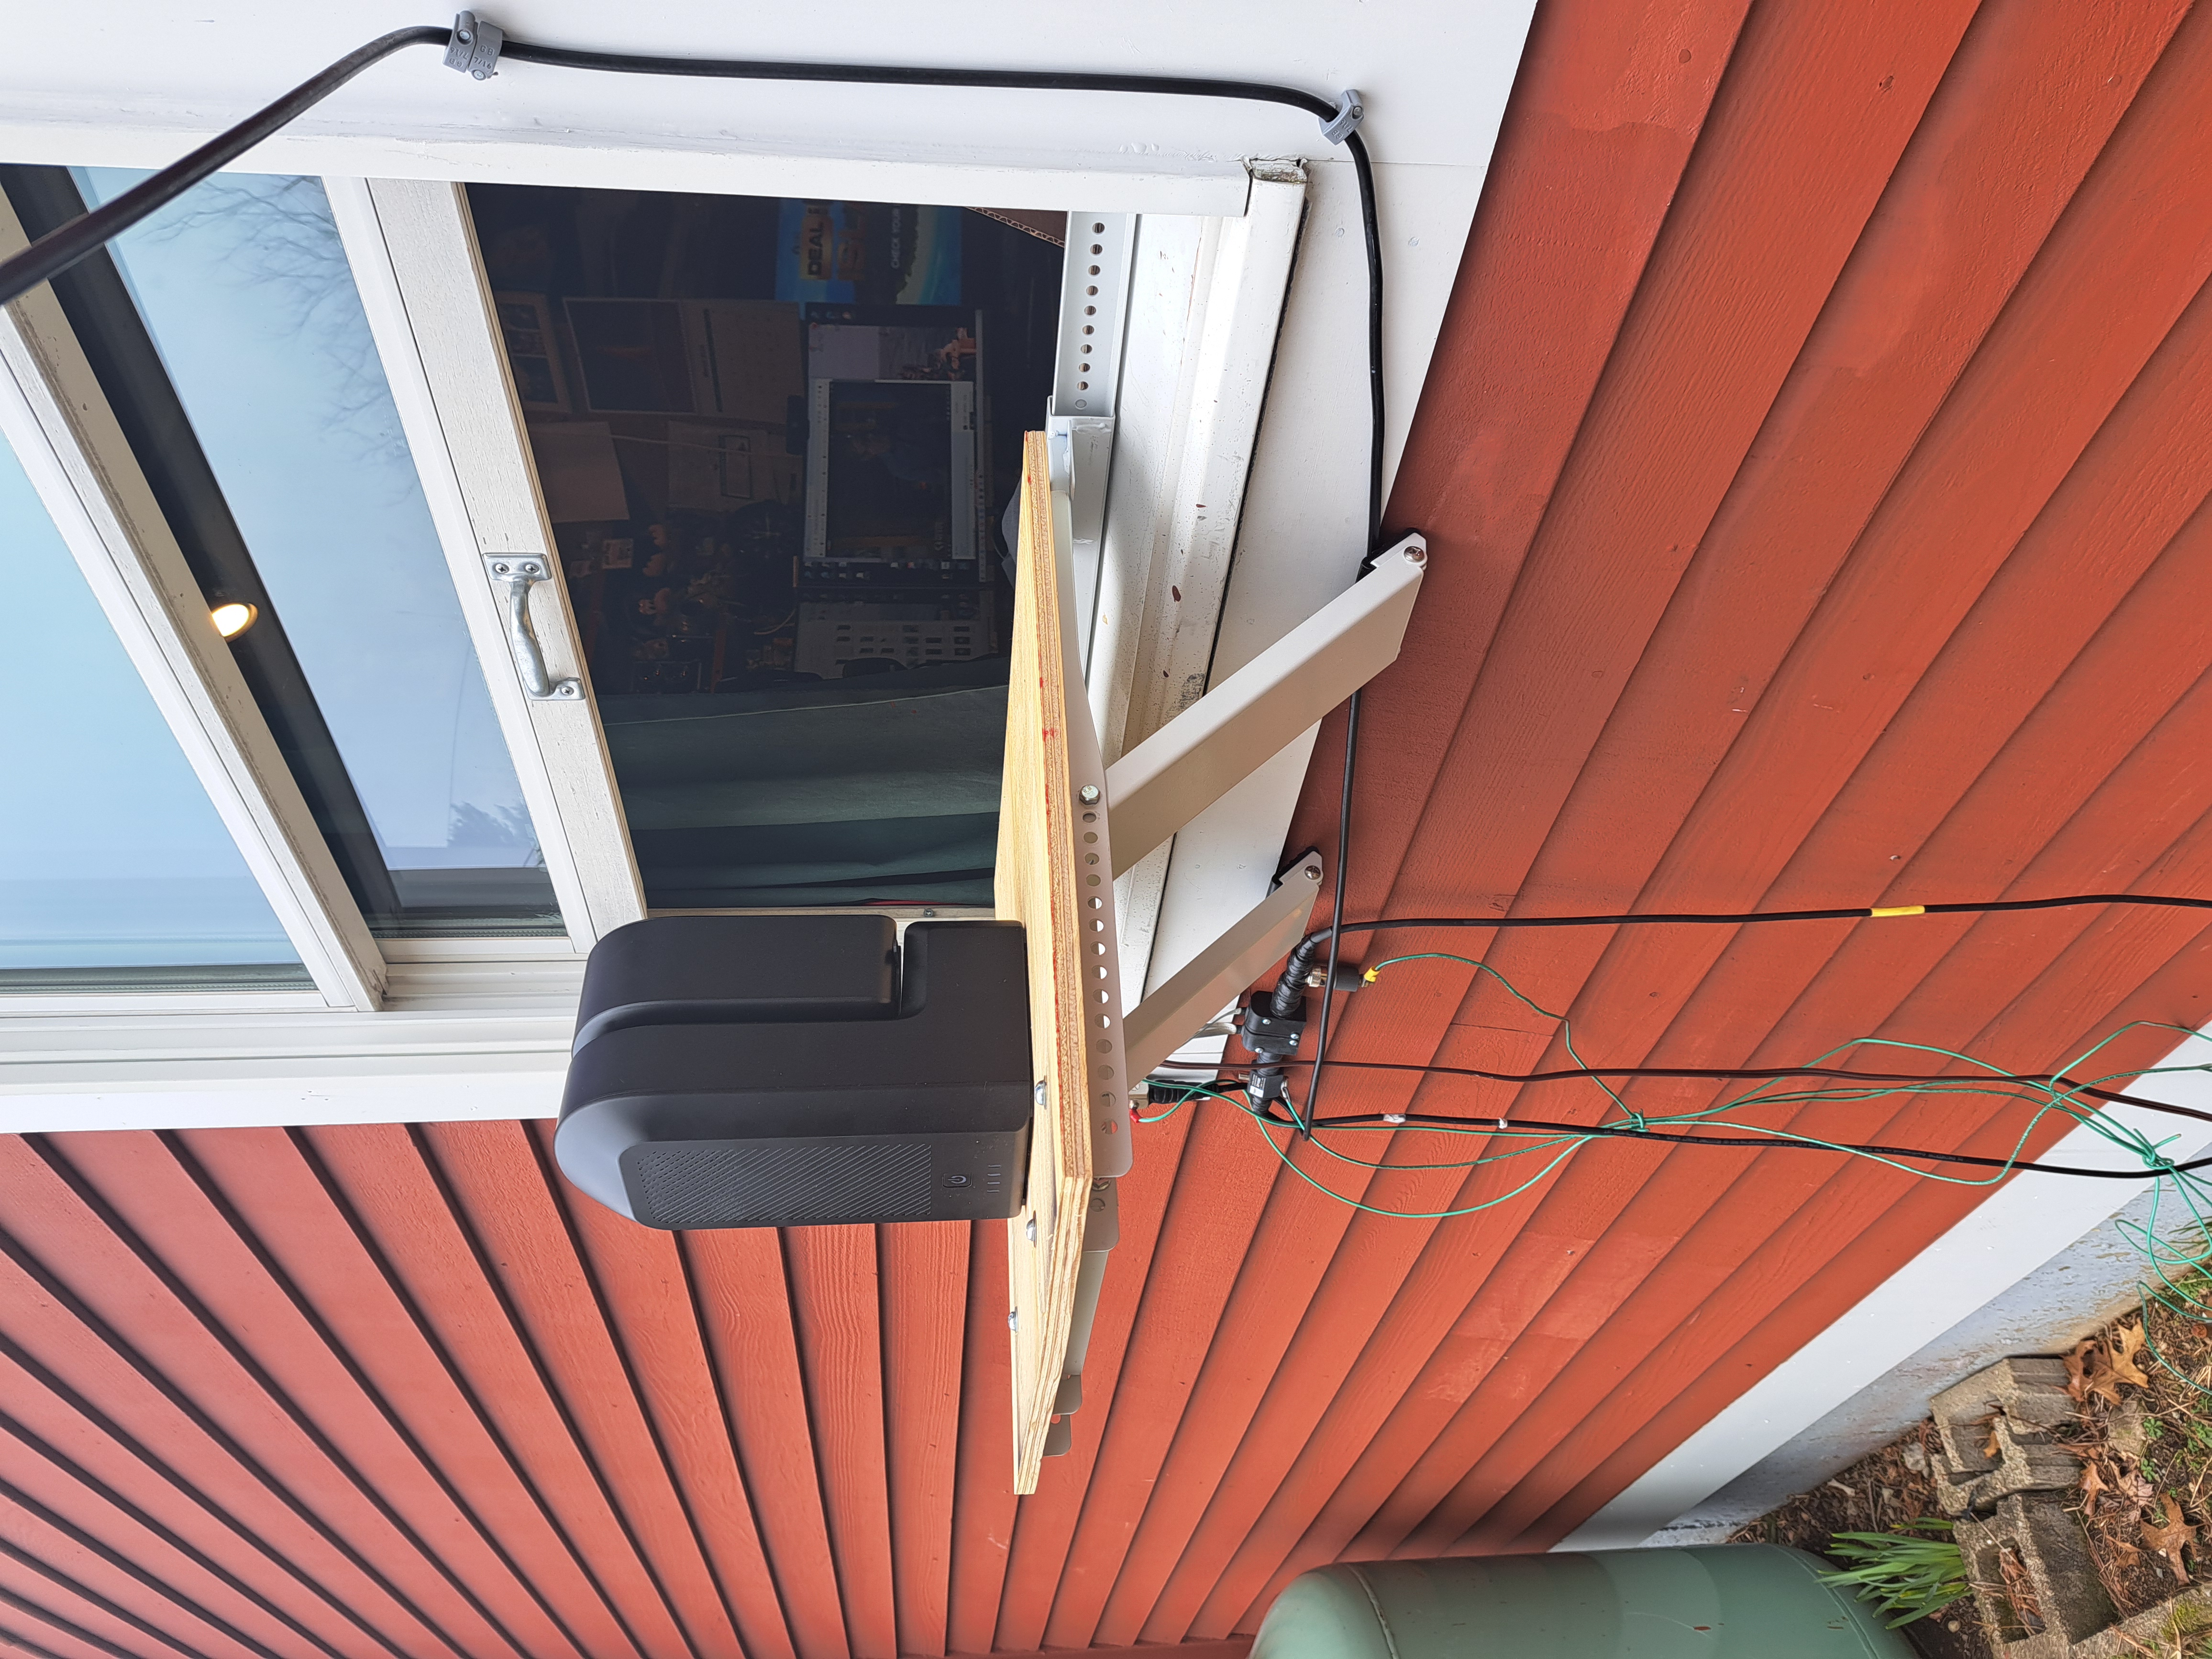
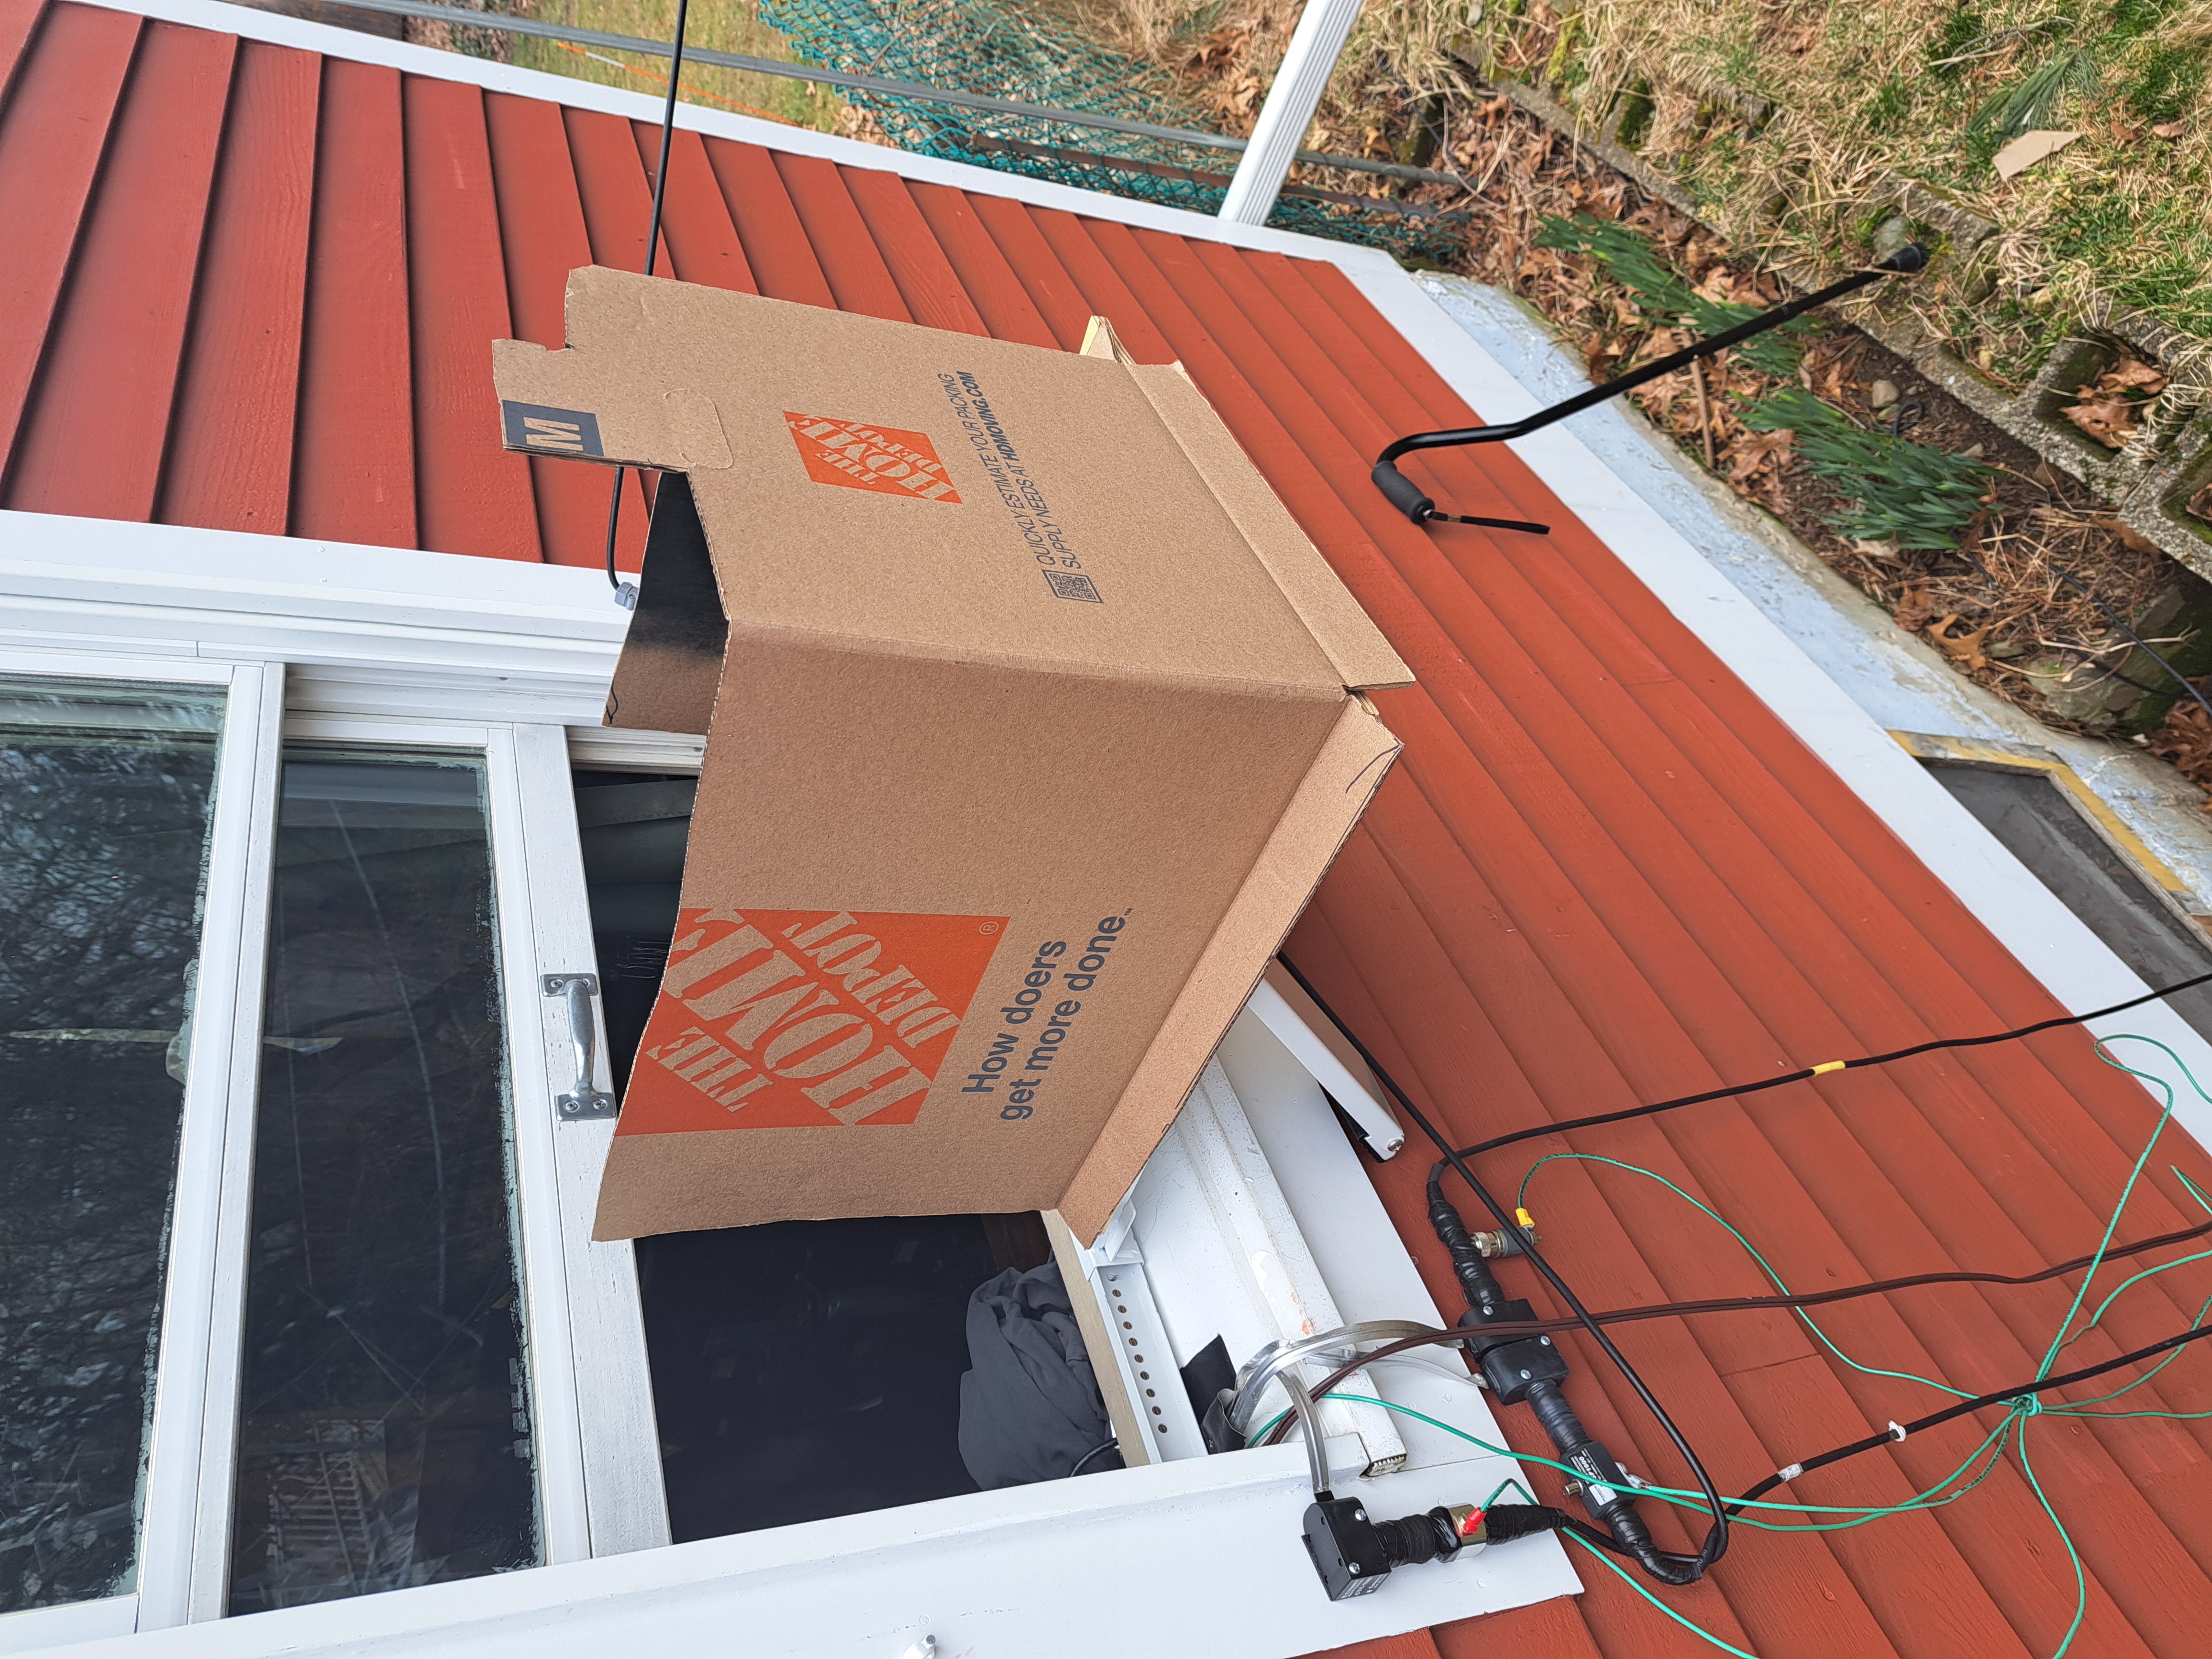
It being cold outside and not wanting to go out to set up if there is snow, I created an observing shelf from an air conditioner bracket to hang on my window sill with a piece of plywood on it. Rather than leave it out all the time it is easy to put out and take in, takes about 20 seconds each way. Then I simply put the S50 on it. I also cut up a box to make a windscreen and privacy block for the neighbors house.
It takes less than two minutes to be ready to image and I am inside in the warmth! You could set up in a field or parking lot and image from the warmth of your car!
Included are a few images.