The Quest for Pluto
July 2014 :
It has been eight years since the (now infamous) vote by the International Astronomical Union to issue a formal definition of "planet" which subsequently "demoted" Pluto to the classification of dwarf planet. There are still many people who do not accept this outcome, either upset about the ambiguity of one ore more of the points of the definition itself, or simply being nostalgic--afterall we all learned the solar system's nine planets early in our grade school years.
Whichever side of the debate you sit on, the fact is that now our solar system is known to have eight planets and a multitude of other types of objects. Sure most of these objects are small, dim points of light that lack the viewing spectacle that the planets provide (even Mercury and Neptune show some detail in amateur telescopes), but not being able to see much detail even with the world's largest telescopes make these minor planets all the more intriguing. Not the least of which, Pluto has only slowly revealed its secrets since its discovery by Clyde Tombaugh in 1930 as our technological eyes have gradually improved over the years. What was once a cold, dark world visible only as a tiny point on a photographic plate is now known to hold a tenuous atmosphere and a system of no less than five moons.Much of the veil of mystery surrounding Pluto will be lifted a year from now when NASA's New Horizons mission sails past the dwarf planet at a blistering eleven kilometers per second. The spacecraft's motions and instrument operations near the closest approach in July 14, 2015 are being carefully choreographed to take advantage of every last second of opportunity to observe, and with its cameras straining to observe the known six objects in the Pluto system that are illuminated by only 1/1,000th of the sunlight that reaches Earth.
To see Pluto, however, you don't have to wait until next year. Pluto is well placed in our sky right now and beckons to anyone with a telescope, a camera, and a free night to take a journey to the Kuiper Belt.
Many years ago, I observed Pluto visually through Hank Renaud's 20-inch Dobsonian from the dark skies of Frosty Drew Observatory. In the days before smartphones, computer deep-sky atlases, go-to and digital cameras, we had nothing more sophisticated than a detailed finder chart published by one of the amateur astronomy magazines. "Yup, there it is!" we said as we compared the starfield in the eyepiece to the chart, identifying the one "star" that didn't belong. I have even heard other members of Skyscrapers make note that they had seen it in the 8-inch Clark refractor, back when Pluto was closer and our skies were darker.
Although actually spotting Pluto with a telescope is challenging, a small telescope with a tracking mount and almost any camera that can be set to take a long exposure may be all that is needed to spot it with your own equipment.
Pluto reaches opposition in our sky on July 5 when its tiny 2,350 kilometer sphere shines at a scant 14th magnitude from 31.5 astronomical units away (more than three times the distance to Saturn). Throughout July and August, Pluto will be visible all night, making this the best time to try to track down this tiny and mysterious world before New Horizons eliminates the need for us to use our imaginations to envision what it really looks like.
Pluto is currently travelling through eastern Sagittarius among some of the densest starfields of the Milky Way. Even though this would seem to make it more difficult to pick out Pluto, the presence of a large number of faint stars actually aids in locating it, presuming you have the proper charts.
Before beginning your photographic journey to the Kuiper Belt there are a couple of things you'll need to do first.
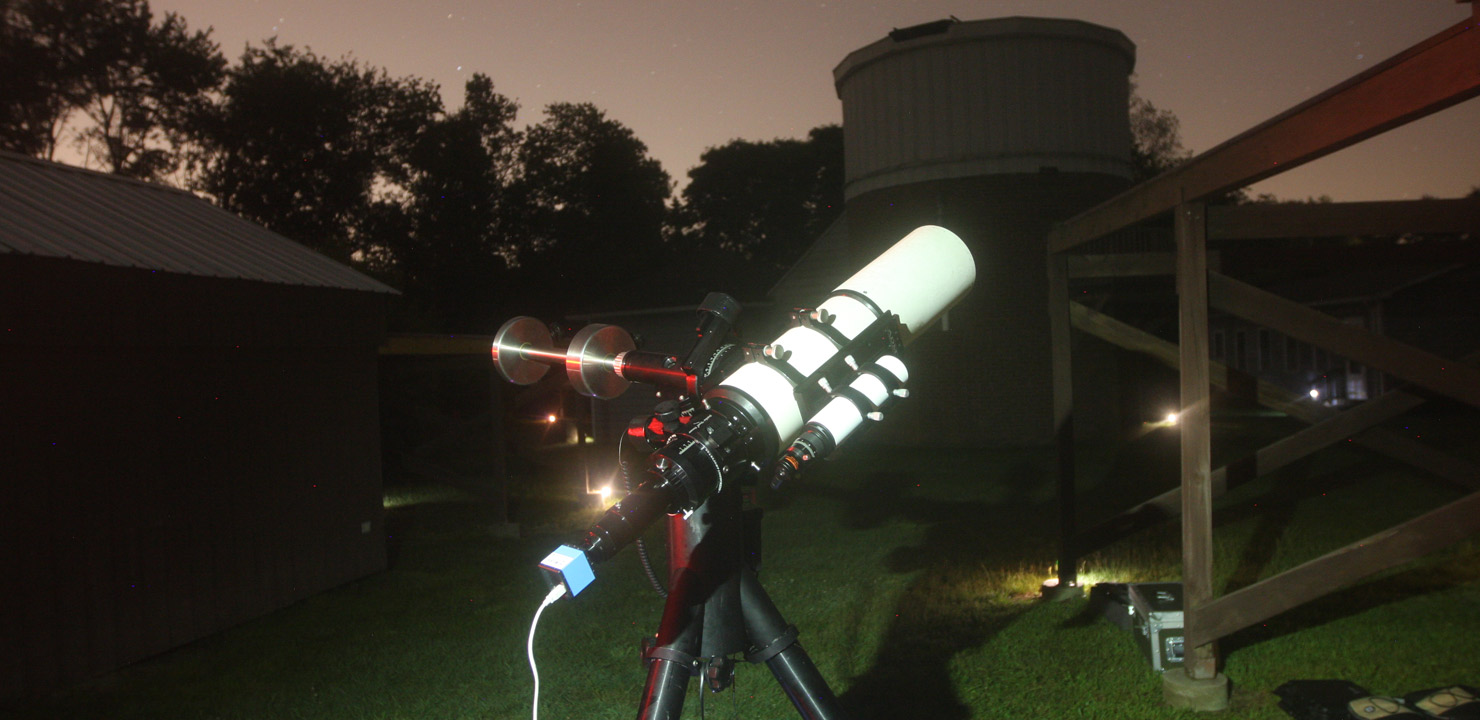
First and foremost, your telescope must be polar aligned and your setting circles or finder scope must be set accurately. If you're using a go-to scope, this can be done fairly quickly. I was using a 130mm f/6 refractor mounted on a "push-to" Losmandy mount which had to be polar aligned manually. Using just the polar finder scope I was able to get an alignment accurate enough for the exposures I was planning to take. I could have done a drift alignment to get better accuracy, but I only had to tweak the position of the telescope twice with the electric slow motion controller during my hour-long session.
Second, point your telescope at Altair (or any bright star) and attach your camera. Focusing on a bright star will be far easier than trying to get focus on the starfield where Pluto is, where the brightest stars are only around 5th magnitude. Once you have Altair focused (a Bahtinov mask is handy for getting a good focus), lock your focuser and use your slow motion controls to center the star on the camera's sensor or viewfinder. If you have a go-to telescope, sync the drive on the star in order to refine your positioning. My finder scope has a 1.25" focuser so I was able to swap the standard eyepiece with a 10mm crosshair eyepiece in order to refine its center position.
If you have a go-to scope, you're now good to go. Many scopes will have Pluto in their object database so you should be able to slew directly to it. If not, you can enter the coordinates which any sky app will be able to provide for you.
Using the finder charts, begin by locating the "teaspoon" asterism of Sagittarius and follow the line from 39 Sgr to 37 Sgr and continue along the same line about the same distance (about 100 arcminutes, or just over three Moon diameters). This will put Pluto within the field of view of even a small camera on long focal-length telescope. You'll probably see in your finder 5th magnitude 29 Sgr. Using this star as a hopping off point, Pluto will be 30 arcminutes due east at the beginning of July and 15 arcminutes just south of west (position angle 250°) at the end of July.
As a helpful tool in identifying Pluto on the images you'll be capturing, you can use the Variable Star Plotter on the AAVSO website and print a chart for Pluto at the exact date and time of your planned observations. First, find Pluto on your favorite sky app and retrieve its right ascension and declination coordinates (2000 if available). Second, within the VSP, scroll down to Advanced Options and enter the coordinates into the appropriate fields. You don't need to worry about labeling the degrees, hours, minutes or seconds. Simply enter them as three pairs of digits. For example at midnight on July 13, Pluto is at 18h 51m 32 sand Dec -20° 19m 57s, so enter the coordinates imply as 18 51 32 and -20 19 57. Third, set the plotting options. I used 30 (minutes) in the Field of View setting and set the magnitude limit to 15 (nearly a full magnitude fainter the Pluto). If you're going to view the chart on a screen, 72 DPI is sufficient but for printing a setting of 300 is more appropriate.
I found it useful to have a second VSP chart plotted for a wider field of view and lower magnitude limit to help match what I was seeing in the finder.
It is also helpful to know your camera's field of view. For this, I used Starizona's Pixel Resolution & Field of View Calculator.
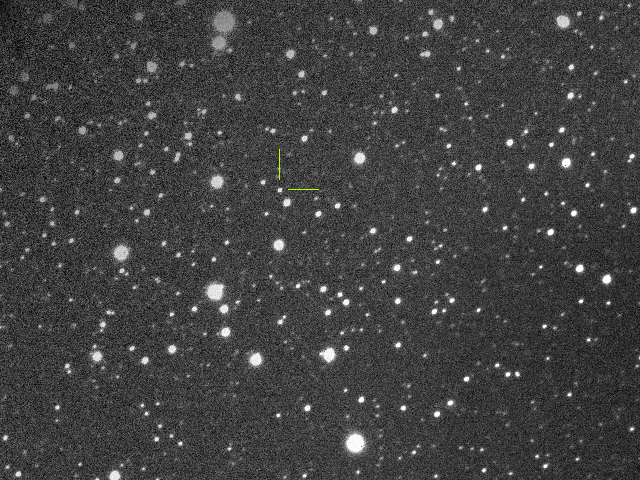
Once you are confident that you are centered on Pluto, set your camera's ISO or gain settings to the highest and take increasingly longer exposures until you can begin to distinguish the starfield, comparing it with the VSP chart. With any luck, you will now see Pluto in your image, simply by finding the "star" that isn't on the chart. Be sure to save this image as your first confirmation and use your telescope's slow motion controls to center your target.
Now you can experiment with your camera settings to produce a better image. Reduce the ISO/gain to reduce the noise, and increase your exposure time. You may find that if your polar alignment wasn't perfect then your shutter speed will have an upper limit before the stars in the image become little dashes. Play with your settings until you get the most satisfactory result.
You may want to plan for future observations by moving the center of the image to account for Pluto's anticipated movement in the sky, so that when you take a second image a few days or weeks from now, you'll be able to overlay and blink the two images to show the motion of Pluto.
Once you've gotten the best image you're going to get, cap the scope and take a dark frame. My camera's field of view was so small that I didn't think it necessary to take a flat field but you may want to use one if you're using an SLR camera, or you can crop out any vignetting during processing.
Good luck on your Pluto quest, and please submit any images you do capture for publication in a future issue of The Skyscraper.